|
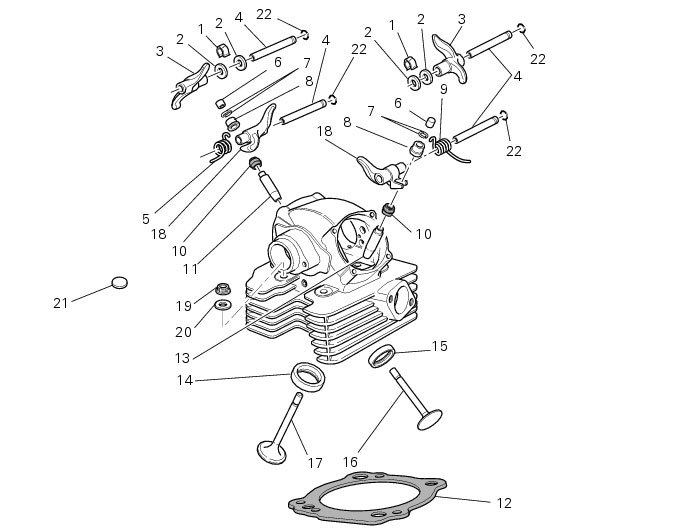
1
|
|
2
|
|
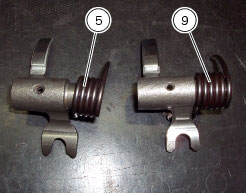
5
|
|
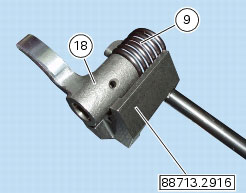
9
|
|
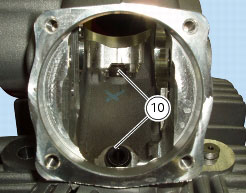
10
|
|
17
|
|
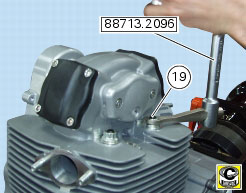
19
|
|
20
|
|
21
|
|
22
|